In an Active Directory domain, reliable time on all domain members is crucial. By default, all systems will use the “NT5DS” mode. This mode does not require any specific NTP configuration on any of the domain members, except one. This machine is the DC that has been granted the FSMO role “PDC Emulator”, and will need some specific management to acquire the time from a reliable external source.

The PDC Emulator must retrieve the time from an external NTP source that you trust.
(Please see this article for the most complete list on the Internet of the many duties of the PDC Emulator.)
Before configuring the NTP server settings on the PDC Emulator (PDCE), we must verify that proper connectivity exists to the selected external NTP server.

Rules may, or may not, exist on the perimeter firewall, preventing either outgoing or incoming NTP packets. Due to the fact NTP is an UDP based protocol, it is more difficult to validate connectivity. For TCP based protocols, several methods exist to easily verify establishment of TCP sessions.
However, for NTP, being carried on UDP, we have no opportunity to observe any handshake or established states. We must use an application-aware tool to send NTP data to the target and verify if a result returns.
The native tool we can use is the Windows command line tool w32tm.exe.
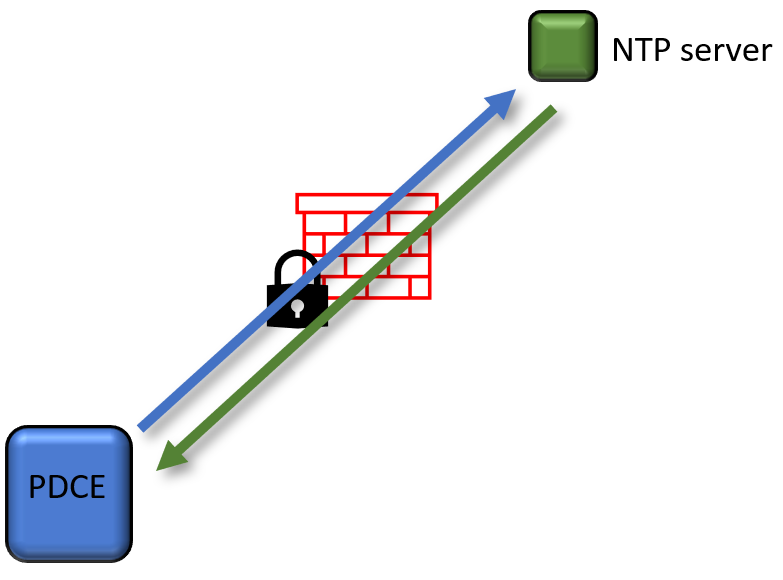
This tool has many use-cases. We will here see how to produce a single NTP packet, and direct this packet to a selected target. A successful return-packet will prove end-to-end connectivity through firewalls.
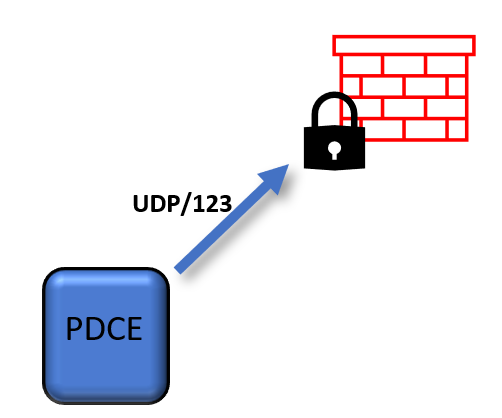
NTP uses the standard port UDP/123. This port needs to be available in all firewalls in the path, as well as functional IP-routing to/from the target.
w32tm /stripchart /ipprotocol:4 /samples:1 /computer:EXTERNAL-NTP-SERVER
Replace “EXTERNAL-NTP-SERVER” with name or IP address of the selected target.

If the packet exchange is successful, you will receive an output similar to above. It is not, in this context, important which exact numbers are being displayed. However, we must see some result.

In the background, this command produces the packet displayed above, together with the answer from the external NTP server returning successfully. Packet number 1 in the Wireshark output is the w32tm query packet and number 2 is the external server reply.

However, if a firewall rule prevents the UDP/123 connections, or if the NTP target is incorrectly configured, you will receive output data similar to above. The keyword “error” informs you that a functional NTP path is not available, and troubleshooting must be conducted. Discuss with your firewall team to ensure proper rules are implemented.

Once you see a “error-less” timestamp on the command line output, you have now proven you have end-to-end connectivity with the external NTP target.
Note also, if your target is a NTP “pool”, you must resolve all IP addresses inside this pool, and test accordingly against each individual IP. Otherwise, there is a high risk that not all targets will be reachable, creating unpredictable results in the production.
